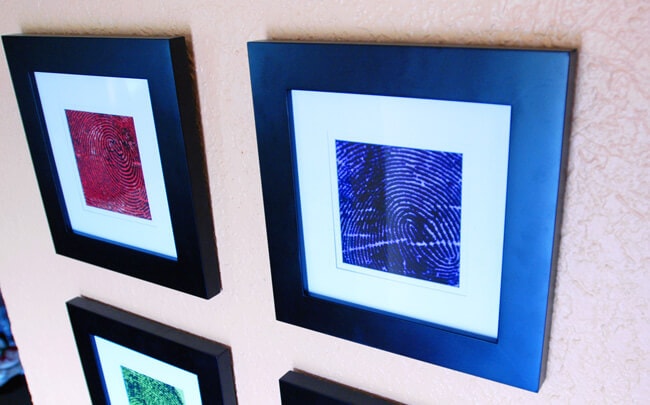
I've had a ton of people ask me about the thumbprint art that I gave Nate for Christmas. It's actually really easy to make with a little photo manipulation using a free online program and some basic supplies. Here's a little tutorial so you all can create thumbprint art with your family!
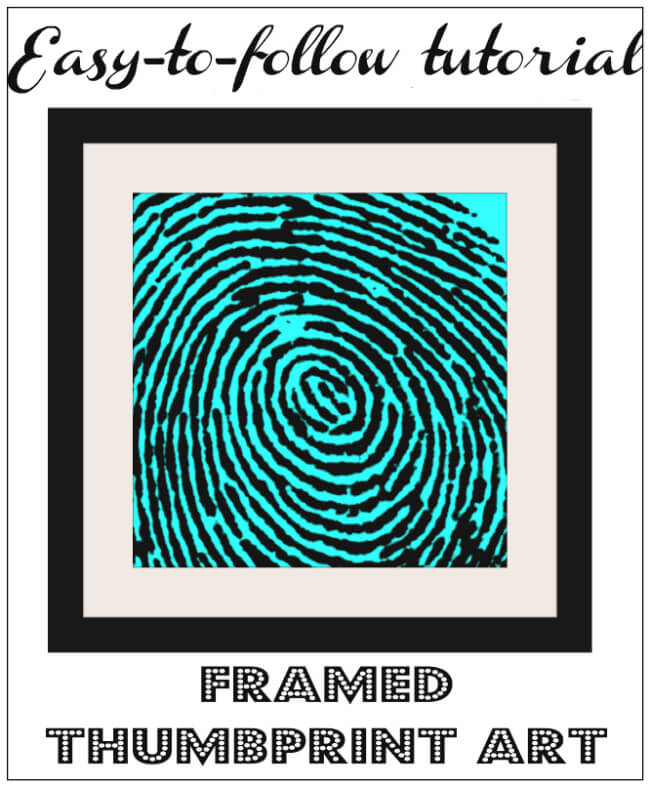
Thumbprint Art
Supplies:
Fingerprint pad (don't use stamp ink – you won't get a clean print that way)
Matted gallery frames (we used 8×8-inch frames matted to 5×5 inches)
Matte presentation paper and a high-quality printer (you can get this printed up at an office supply store, I just don't recommend doing it on photograph paper because it won't have the right “art look”)
Scissors
Note: if you happen to have Photoshop, you can easily make all of these described color and size adjustments below directly in Photoshop. After gathering your thumbprint image, just go to Image>Adjustments>Hue/Saturation in Photoshop and keep “Colorize Image” checked while adjusting the colors, and then save the image to the exact size you want it printed to by clicking Image>Image Size and changing the document size to 5×5 inches, or whatever frame size you use. If not, Pixlr is an awesome and FREE way to create your thumbprint art!
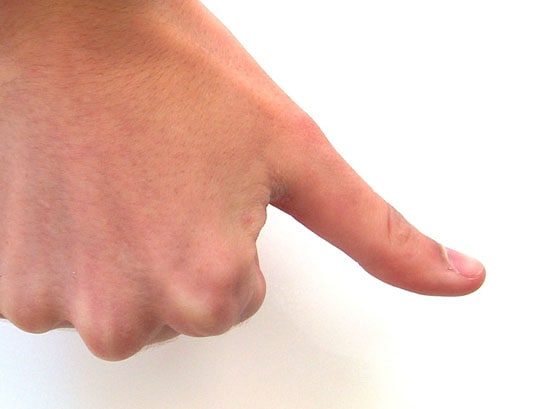
On any white piece of paper, take your family's thumbprints. By the way…thumbprinting a baby is really difficult. They don't have much of a discernable thumbprint, and they squirm a whole lot. Just a heads up for those who were wondering!
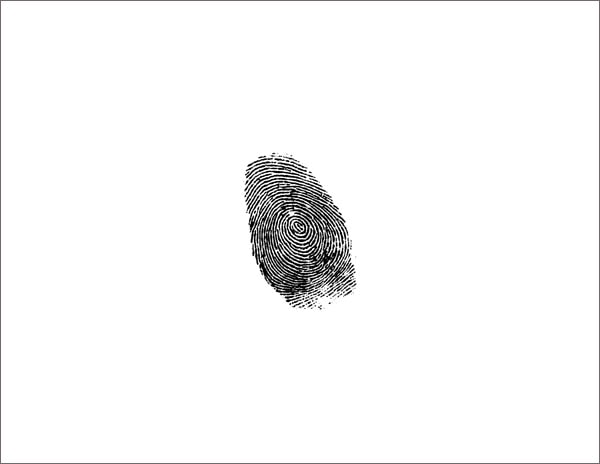
Take up-close photos of each thumbprint separately. I suggest using the macro setting on your camera to get as much detail as you can. The photos need to be clear, so make sure you use enough light and a high-quality camera, if possible. Alternately, you could scan each of the thumbprints to your computer with a scanner.
Browse to Pixlr.com and click on “Open Pixlr editor (Advanced)”.
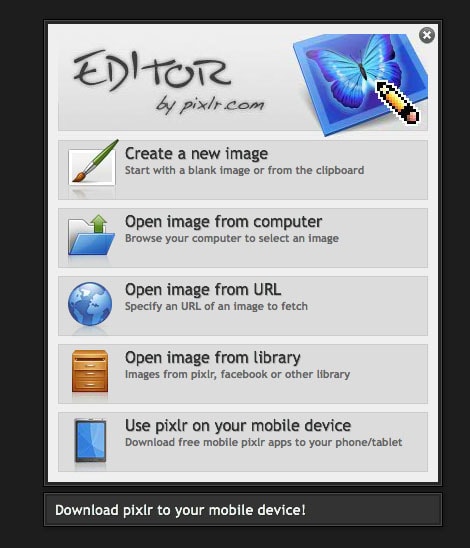
Select “Open image from computer,” browse to the first thumbprint picture and upload it.
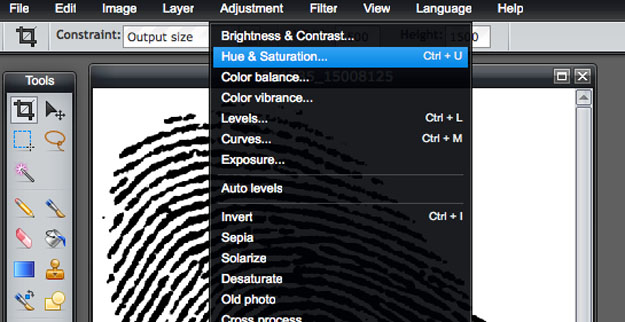
Up at the top of the page, select Adjustment>Hue and Saturation (don't worry if your thumbprint photo isn't as large/zoomed in as mine is in the picture above. We'll change the size later).
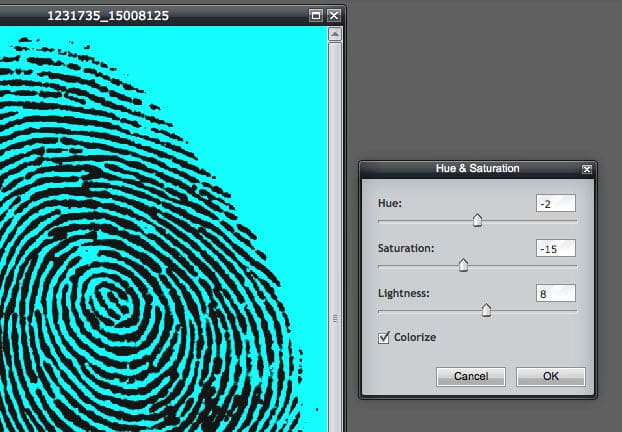
Check the “Colorize” box and play around with the Hue, Saturation and Lightness scales until you get a color you like. Hue changes the main color, saturation changes the intensity of the color, and lightness changes the lightness of the picture. Hit “OK” to apply your changes.

Click the Crop tool in the upper left-hand corner and then in the drop-down box next to “Constraint,” click “Output size.” Enter 1500 for the width and the height.

Click on your image and drag to select the area that you want showing in your frame. Once you have the proper area selected, hit the Enter/Return key on your keyboard to crop your image (don't worry if your image suddenly looks blurry and super up-close: this is just because Pixlr automatically zooms in on your image. You can zoom back out with the slider bar on the Navigator in the upper right-hand corner, if you wish).
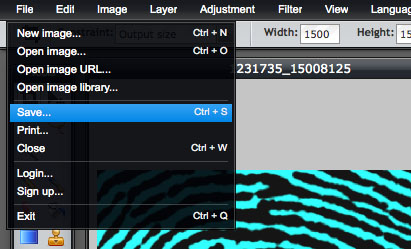
Select File>Save.
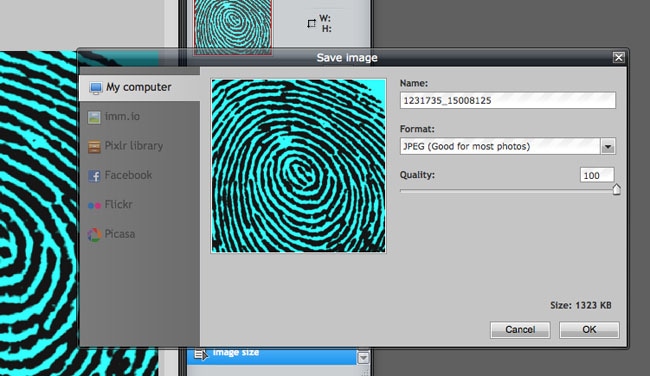
Drag the Quality slider up to 100 and hit “OK” to save to your computer.
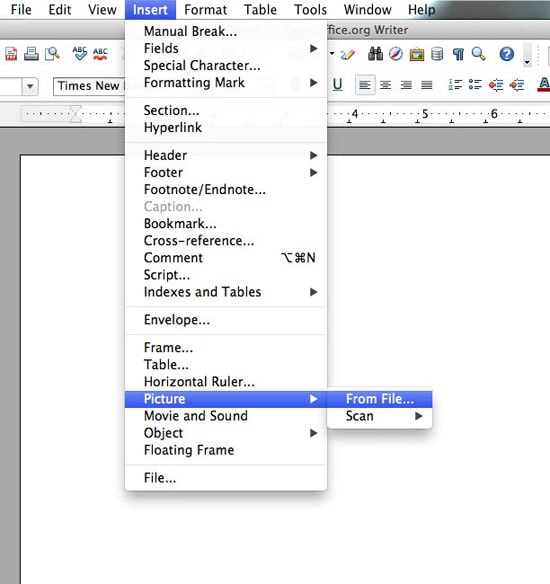
Resize the image to the correct size for printing by opening OpenOffice or Word on your computer and inserting the image by selecting Insert>Picture>From File.
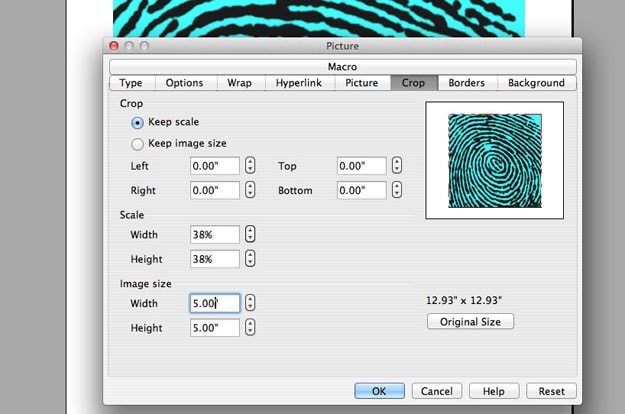
If you're using OpenOffice, right-click on the image and select Picture, and change the Image Size to 5×5 inches (or whatever your frame size is). If you're using Word, select Picture Tools>Format>Adjust>Compress Pictures and change the size in the Crop section.
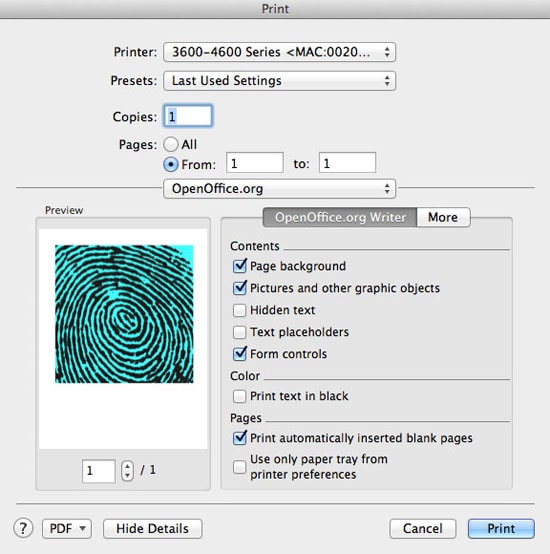
Select File>Print and print your thumbprint art image onto the presentation matte paper.
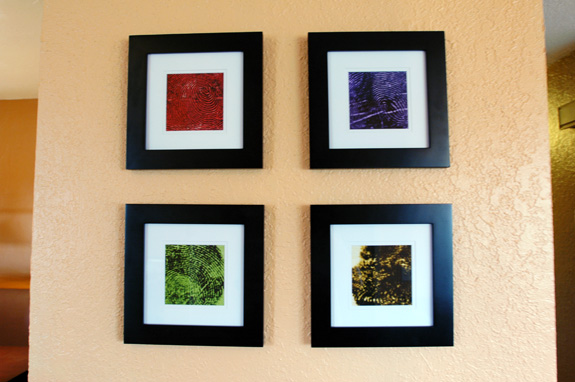
Trim the image, frame it and display your thumbprint art for all to see!
We went with red for Nate, purple for me, green for Some Boy and yellow for Sidekick's little thumbprint art, and this is now what greets visitors in our entryway.
I'm linking this project up to these awesome link parties! Come check them out and get inspired.
Thanks for sharing. It’s really neat!!
Hello!
I found you from the Mop it up Mondays link up. I would love to have you come share your post with my readers over at Sassy Little Lady’s Show and Tell Saturday. Hope to see you there!
Kathie
https://www.sassylittlelady.com/blog/show-and-tell-saturday/show-and-tell-saturday
Thanks Kathie, I just linked up! Your readers have such cute ideas….I love browsing everyone’s projects.
Thank you for linking up with me for Show and Tell Saturday at Sassy Little Lady! Be sure to stop by next week!
https://www.sassylittlelady.com/blog/show-and-tell-saturday/show-and-tell-saturday
Kathie