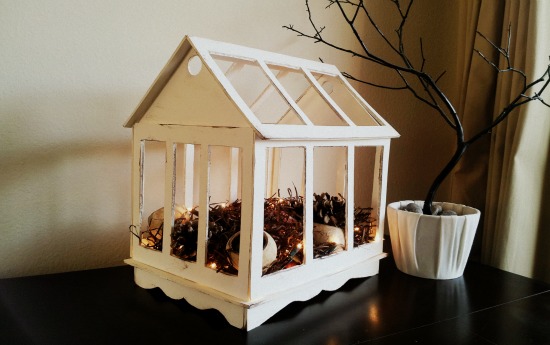
I've been lusting after this Pottery Barn terrarium for awhile now. I love the idea of enclosing potted herbs, cacti or pine cones in a small display on an unexpected space like a corner table or dining hutch. The price, however, I'm not loving. $129 for the small one, $249 for the large…yikes.
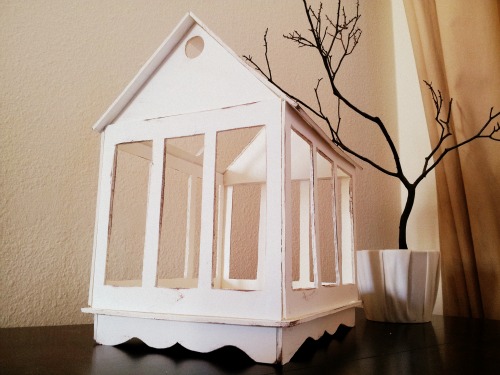
After the success of my Wizard of Oz House Costume, I wanted to try my hand at making other things out of Elmer's foam boards. I decided that I could easily DIY a terrarium, and Elmer's kindly sent me some boards and a bunch of their coolest products (like Painter's Markers…paint in a pen!) to give it a shot. I left my terrarium open because the glass seems entirely unnecessary to me. Nate, of course, had to point out that it's not technically a terrarium without glass because “-arium” implies an enclosed space, as in “aquarium” or “solarium.” Whatever, smartypants.
DIY Terrarium
2 White 20×30 Foam Boards
Elmer's Brown Painter's Marker
CraftBond Repositionable Glue Stick
CraftBond Extra-Strength Glue Stick
X-ACTO Designer Series Gripster Knife
Off-white acrylic paint
Clear acrylic varnish
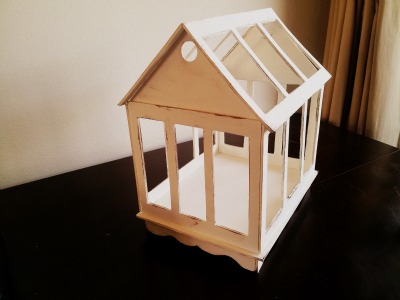
For the house, I cut two side pieces 14″ long x 10″ high, two sides pieces 10.75″ long x 10″ high, two roof pieces 14″ long x 10″ wide, and a base 11.5″ wide x 14.75″ long.
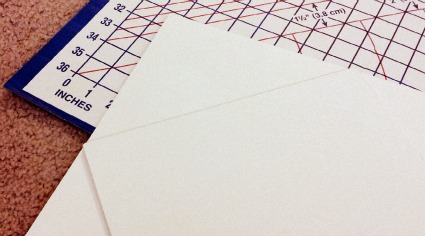
I cut the two attic pieces by laying the front house pieces over the edge of the posterboar
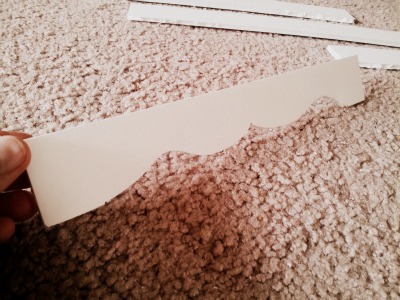
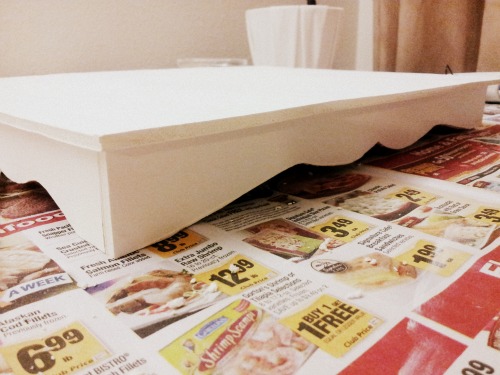
I cut two stand pieces 1.5″ tall x 10.75″ long, and two stand pieces 1.5″ tall x 14″ long. This is for the “legs” that the house sits on in the final photo.
Cutting the curve of the stand pieces was the trickiest part, but it helped to view it mathematic
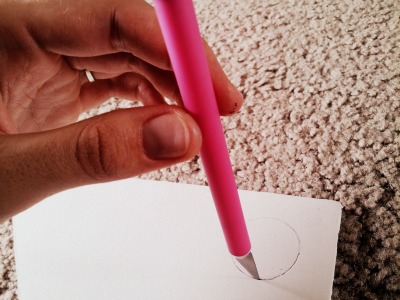
I traced the bottom of a shot glass for a lookout window in the attic pieces, and carefully cut out the holes with the X-ACTO knife.
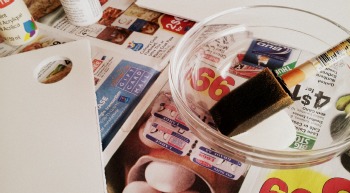
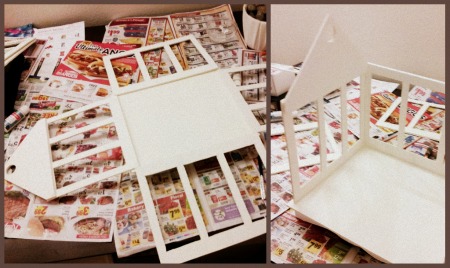
Paint all the pieces with a thin coat of off-white paint (why yes, that is my weekly grocery store ad. One of these days, I'll invest in a drop cloth).
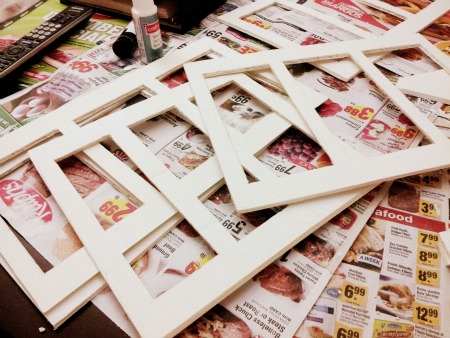
After everything's painted, I cut three windows out of each of the sides and roof pieces. I left 1.5″ at the top and bottom of each piece, and approximately .75″ between each window. I'm not too particular about using exact measurements here, because I think it's okay if it looks a little imperfect. That just adds some charm.
Glue the attic pieces to the front and back pieces of the house with the extra-stre
The stand pieces go onto the base with the extra-stre
I like to lay out exactly where each piece is going, then tentativel
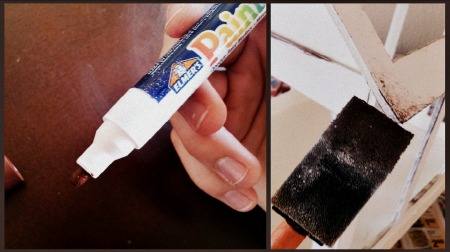
Finally, I add a worn look by delicately brushing a brown Painter's Marker over the edges of the windows and seams where each pieces comes together. To add a little texture at the corners, I dab a brush with the Painter's Marker and quickly swipe it over the terrarium edges.




Wooo! That is amazing, and I love that you can change it with the seasons! Great job!
Wooo! That is amazing, and I love that you can change it with the seasons! Great job!
Wow that x-acto knife works really well with the intricate cutting. Love the the idea, great job.
Wow that x-acto knife works really well with the intricate cutting. Love the the idea, great job.
Ohhh…I love it! I think I need to make myself one of these!
Okay, I am doing this. It looks perfect.