Nate has an entire room of our home dedicated to craftsmanship. I've asked why he needs SO many tools, and his answer actually makes a lot of sense. “Why do you need two glue guns for your crafts?” he volleys it back to me. Duh…so I can glue parts of the same project at varying temperatures. Over the years I've actually come to rely on his dedicated workspace. I've drawn inspiration from his tools for my own crafts, like this chicken wire frame.
We've been working with Arrow Fastener (one of Opa's favorite handheld tool brands, and maker of the above-mentioned glue guns that I've loved and used for so many years). They sent us some of their staple guns for us to use on our household projects, and through their brand I quickly developed a better understanding of why different tasks can call for vastly different tool solutions.
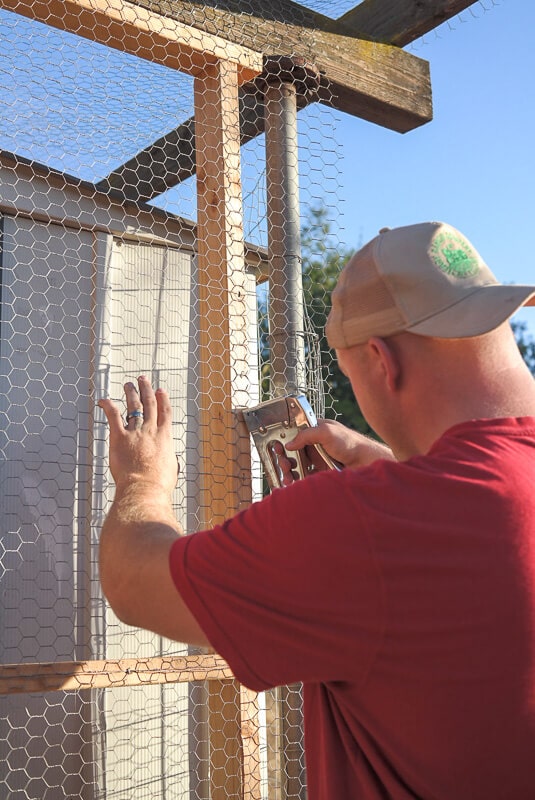
We're putting the finishing touches on the chicken coop, and Nate showed me how he uses a heavy-duty tacker gun to get chicken wire laid down straight along the vertical boards that pen the animals in.

Along the top of the enclosure, a hammer tacker that's often used for roofing and insulation helps him get at hard-to-reach places where speed matters more than precision.
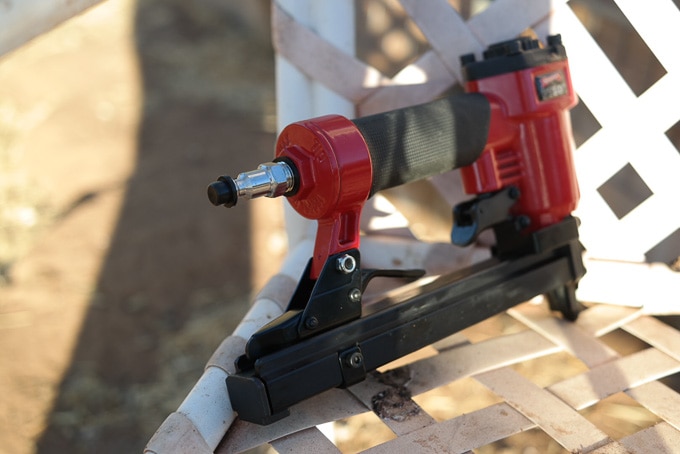
They even make a pneumatic staple gun that attaches to an air compressor for rapid-fire purposes and working with hard wood, where more power is needed. And did you know that electric wire requires a completely different tool than a staple gun? A wire tacker is designed to shoot rounded staples with a raised top to keep cord intact.
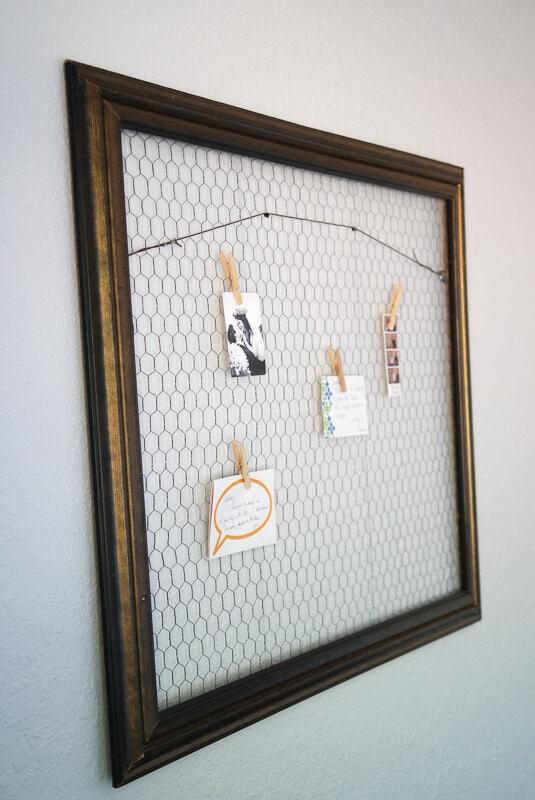
Making a Chicken Wire Frame
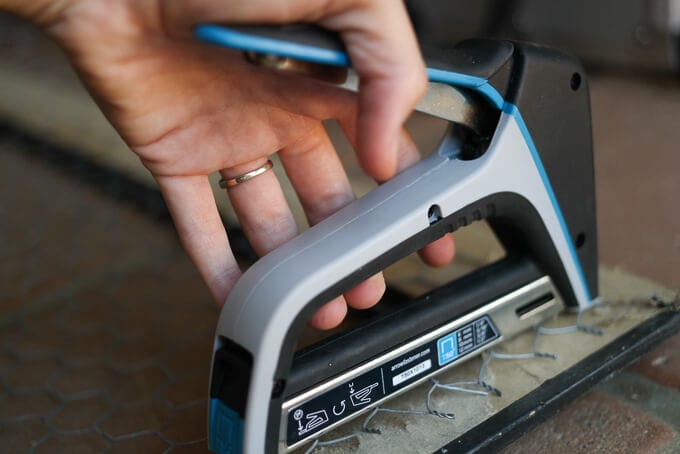
I drew from Nate's skills and supplies, as I so often do, to build my own chicken wire frame! I've been eyeing these wall hangings on Etsy for months, and it's one of the easier crafts I've ever put together. For my purposes, a TacMate Manual Stapler gave me precision and control without being too cumbersome.
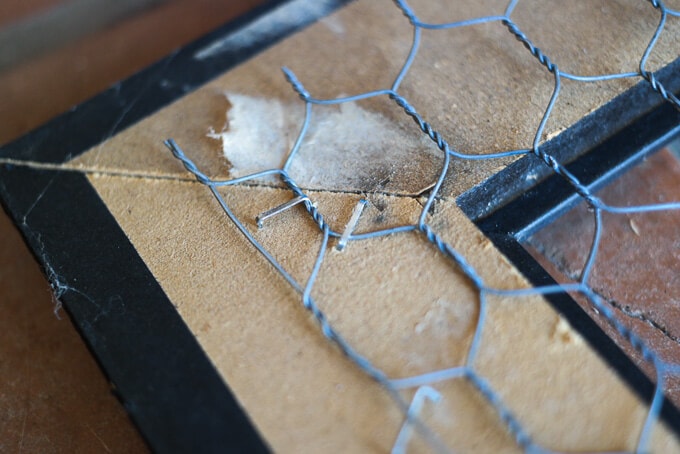
For my chicken wire frame, I kind of “winged it” (pun totally intended) without an in-depth project plan. The layout is simple: old picture frame (minus the glass) plus chicken wire cut to fit around the backside. If you don't happen to live on a farm, you can find everything you need for this project with a quick search on Craigslist. The hurdle for a lot of people is lack of experience with staple guns, but there are a couple key things to remember. First, KEEP YOUR FINGERS AWAY. Nobody wants a heavy-duty staple through their thumb. Obviously. Second, for projects like this where the workmanship is hidden, more staples are always better. If your chicken wire frame doesn't feel secure, keep on stapling until all the edges are in place.
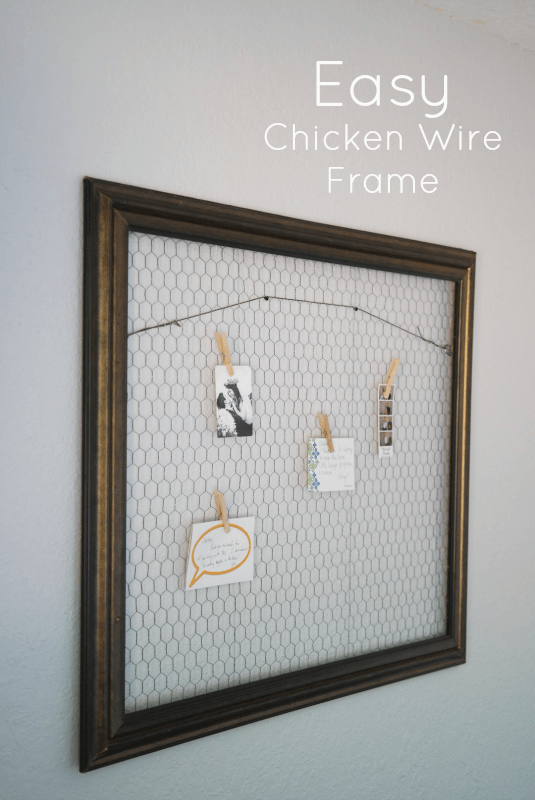
I started by laying out my chicken wire across the back of the frame and affixing one corner, then pulling tight to secure the other corner until all sides were held down. Work your way across, stapling one side of your chicken wire frame and then pulling the other side tight and securing. This will ensure that you wind up with an even surface that doesn't sag. Finally, hang it and use it as a memory board or note holder with clothespins.
Do you have a chicken wire frame in your home?